How to Spot Failing Mortar Early
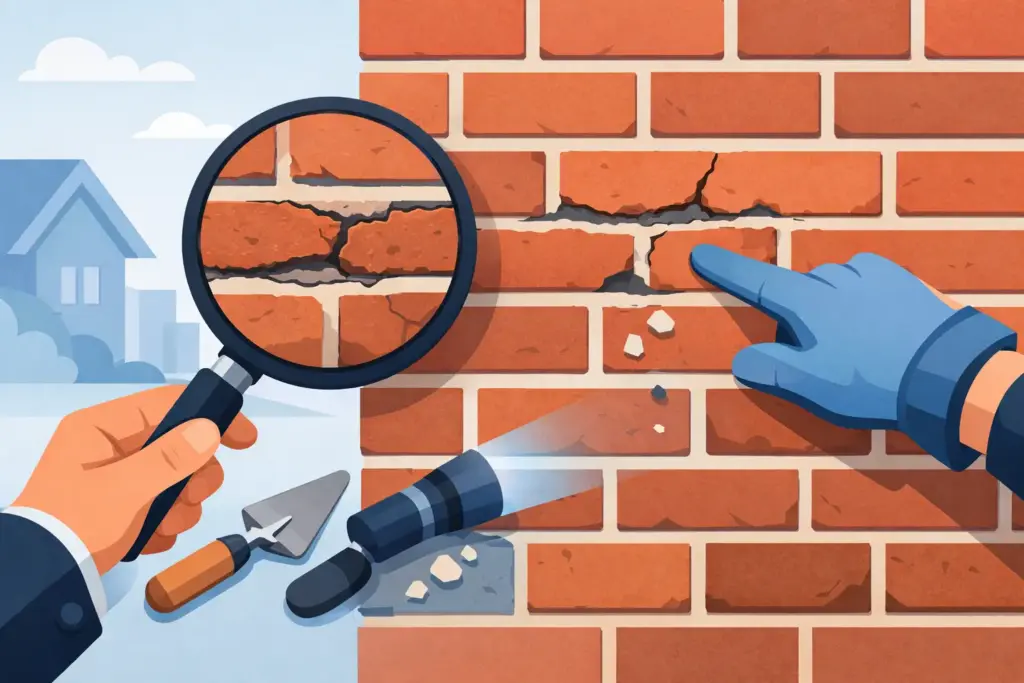
A brick wall can look solid from the street and still be letting water in through worn-out joints. That is usually how masonry problems start - quietly, then expensively. If you want to know how to spot failing mortar, the goal is to catch the warning signs before loose joints turn into damaged brick, interior leaks, or structural movement.
Mortar does more than fill the spaces between bricks or block. It helps lock masonry units together, keeps out moisture, and allows the wall to handle normal expansion and weather exposure. When it begins to fail, the problem rarely stays limited to the joint itself. Water gets in, freeze-thaw cycles do their work, and what could have been a straightforward repointing job can turn into a larger repair.
Why mortar fails in the first place
Mortar has a service life, but age is only one part of the picture. In many homes, failed mortar is tied to constant moisture exposure, poor drainage, roof runoff hitting the wall, chimney weathering, or years of freeze-thaw stress. Some joints also fail early because the original mortar mix was too hard or too weak for the brick around it.
That matters because masonry works as a system. The mortar should usually be the sacrificial part, meaning it wears before the brick does. If the mortar is wrong for the application, or past its useful life, the wall starts responding in ways homeowners can see if they know where to look.
How to spot failing mortar on your home
The easiest sign is visible joint deterioration. Stand a few feet back and look at the lines between bricks or block. If the mortar looks recessed, cracked, sandy, or unevenly worn, it may be breaking down.
Healthy mortar joints usually look consistent in depth and texture. Failing joints often look washed out or hollowed back from the face of the brick. In some spots, the surface may look powdery. In others, chunks may be missing completely.
Cracks in the mortar joints
Hairline cracking is not always an emergency, but it should not be ignored. Fine cracks can form from normal aging, shrinkage, or seasonal movement. Wider cracks, stair-step cracking, or cracks that keep growing usually point to a more serious issue.
The location matters. A few small cracks in an isolated area may call for a targeted repair. Cracks running across multiple courses of brick, around windows, or down a chimney can suggest movement, water entry, or structural stress. If the crack is wide enough to catch a fingernail easily, it deserves a closer look.
Crumbling or powdery joints
One of the clearest signs of failure is mortar that rubs away when touched. If you can scrape the joint with a key or screwdriver and it turns to sand, the bond is weakening. You may also notice small piles of grit below the wall or chimney.
This kind of surface loss often means the mortar has been exposed to years of moisture and freeze-thaw cycling. Once it reaches that stage, it usually does not improve on its own. It keeps opening the door for more water.
Gaps between brick and mortar
Take a close look at the edge where the mortar meets the brick. If you see separation, voids, or narrow openings, the joint may no longer be sealed. Water can enter these gaps even when the wall still looks mostly intact from a distance.
This is common on chimneys, parapets, retaining walls, and older exterior walls that take the worst of the weather. The danger is not just cosmetic. Open joints can allow moisture behind the masonry surface, where it can start damaging surrounding materials.
Loose bricks or movement in the wall
When mortar loses strength, the masonry units around it can begin to shift. A brick that feels loose, sounds hollow, or appears slightly out of line is a red flag. So is bulging or bowing in a wall section.
Loose masonry is a bigger concern than simple surface wear. At that point, the issue may be beyond routine touch-up work. A wall with movement should be evaluated before more sections loosen or fall.
Signs indoors that mortar may be failing outside
Sometimes the first clue is not on the wall itself. It shows up inside the house.
Water staining near a chimney breast, dampness on an interior basement wall, peeling paint near masonry, or musty smells after rain can all trace back to failing exterior joints. Mortar failure around brick veneer, foundations, and chimneys often lets moisture travel farther than people expect.
If you are seeing indoor moisture and the home has visible masonry outside, it is worth checking both areas together. Surface repairs without solving water entry points do not hold up for long.
High-risk areas to inspect first
Some parts of a property wear faster than others. Chimneys are near the top of the list because they face full weather exposure from every direction. Mortar joints there tend to fail sooner than sheltered wall sections.
Brick steps, porch walls, retaining walls, and foundation block also deserve attention. These areas deal with ground moisture, salt exposure, splash-back, and movement. Window and door openings are another smart place to inspect because small cracks often form at corners where stress concentrates.
If your home is older, pay extra attention to any area that has already been patched. Poor previous repairs can trap moisture or use mortar that is too hard for the original brick, which can speed up new damage around the repair.
When it is cosmetic and when it is a real repair issue
Not every mortar flaw means the wall is failing structurally. Minor surface wear on a small section may be more of a maintenance issue than a major rebuild. That said, masonry problems tend to spread when water gets involved, so the line between cosmetic and serious can move quickly.
A few shallow defects in sheltered areas may only require localized repointing. Deep joint loss, widespread cracking, soft mortar across large sections, or any sign of movement is more than cosmetic. The same goes for recurring leaks or damage around chimneys.
This is where experience matters. The right repair is not just filling visible gaps. The failed mortar needs to be removed to proper depth, the joint cleaned, and new mortar installed with the correct mix and finish. Shortcut repairs often look acceptable at first and then fail again after the next hard season.
How to check mortar safely
You do not need special equipment for a basic visual inspection. Walk the perimeter of the house in good daylight and look at the mortar lines from both near and far. Check for consistency, cracks, missing sections, and areas that stay dark after rain.
Use binoculars for upper walls and chimneys instead of climbing. Pressing lightly on lower joints can tell you whether the mortar feels sound or sandy, but avoid aggressive poking or scraping. If brick is loose or a chimney looks unstable, do not test it yourself.
Photos help. If you take pictures once or twice a year, it becomes easier to tell whether cracks are stable or getting worse. That is especially useful after winter.
What happens if you wait too long
Mortar failure tends to accelerate once water starts entering the wall. Joints open more, surrounding brick faces can begin to spall, and freeze-thaw damage expands the weak areas. On chimneys, neglected joints often lead to leaning sections, crown problems, or interior moisture issues.
On foundations and retaining walls, delayed repairs can mean heavier reconstruction later. Even where the wall is not in immediate danger, postponing maintenance usually increases the amount of material that needs to be removed and replaced.
For homeowners, the practical takeaway is simple: mortar repair is usually more affordable when it is done early and correctly.
When to call a masonry contractor
If you are seeing cracked, recessed, missing, or crumbling joints, it is time to have the masonry inspected. The same applies if bricks are loose, a chimney is shedding debris, or moisture is showing up inside. A professional can tell whether the issue needs repointing, isolated brick replacement, or a broader structural repair.
A good contractor will look beyond the joint itself and check the causes behind the failure, including drainage, flashing, cap conditions, and overall wall movement. That leads to a repair that lasts, not one that just covers the symptoms.
For homeowners who want straight answers and durable workmanship, Sampson Concrete & Masonry approaches mortar repairs with that bigger picture in mind. Good masonry should protect the home, look clean, and hold up under real weather conditions.
If you are unsure whether what you are seeing is normal aging or a repair issue, trust your eyes when the joints look different than they should. Mortar rarely fails all at once. It gives warnings first, and catching them early is one of the best ways to protect the brickwork you already have.