How to Restore Damaged Mortar Properly
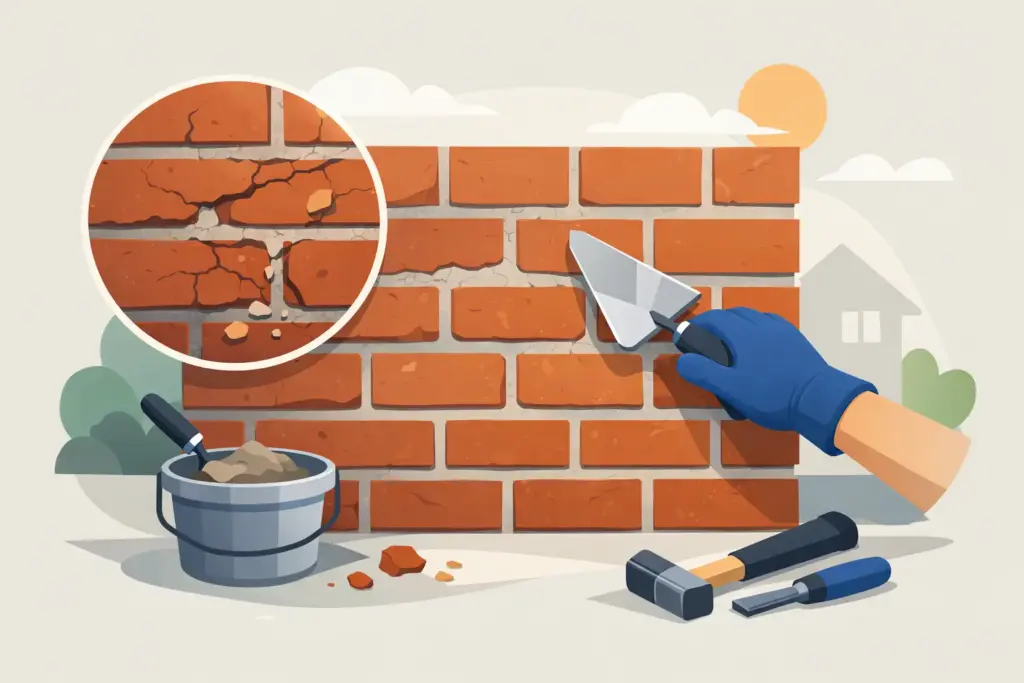
Loose joints, crumbling edges, and fine gaps between bricks usually start small. Then water gets in, freeze-thaw cycles do the rest, and what looked like a cosmetic issue turns into a repair that affects strength, safety, and curb appeal. If you are wondering how to restore damaged mortar, the right answer depends on how deep the deterioration goes and whether the surrounding masonry is still sound.
Mortar is not there just to fill space. It locks masonry units together, helps distribute loads, and acts as a first line of defense against moisture. When it starts failing, brick, block, and stone are left exposed. That is why a proper repair matters. A quick patch can hide the problem for a season, but a well-executed mortar repair protects the wall, chimney, steps, or foundation for years.
How to restore damaged mortar without making it worse
The first step is figuring out whether you need a true repointing repair or a more extensive rebuild. If the mortar is soft, cracked, recessed, or falling out while the bricks or blocks are mostly intact, repointing is usually the correct fix. That means removing the damaged mortar to the right depth and packing in new mortar that matches the original in strength and appearance.
If the masonry units themselves are broken, loose, or shifting, mortar alone will not solve it. A leaning chimney, separated wall, bowing block foundation, or loose stair assembly points to a deeper structural issue. In those cases, restoring damaged mortar is only one part of the repair. The damaged masonry may need to be reset or rebuilt so the new joints are not carrying a failing structure.
A lot of homeowners make the mistake of using the hardest mortar they can find, assuming stronger is always better. It is not that simple. Mortar should be compatible with the masonry around it. If it is too hard, especially on older brick, it can trap stress in the brick faces and cause spalling. Good repair work is not about forcing materials together. It is about choosing the right mortar and installing it with control.
Signs your mortar needs attention
Some warning signs are easy to spot from the ground. You may see open joints, sandy material collecting below a wall, cracks around windows, or sections where mortar has pulled away from brick. Chimneys often show damage first because they take weather from every side. Porch steps, retaining walls, and foundation walls are also common problem areas.
Not every crack means major damage, but repeated moisture marks, interior leaks, or pieces of mortar dropping out should not be ignored. If water is getting through the joints, the repair becomes more urgent. Moisture is what turns minor mortar wear into larger masonry failure.
The right way to repair mortar joints
A proper mortar repair starts with removal, not patching over the face. The damaged mortar should be cut or ground out carefully to a consistent depth, usually deeper than the visible crack. This gives the new mortar enough room to bond and perform. Smearing fresh mortar over shallow, weak joints may look better at first, but it rarely lasts.
Once the joint is cleaned out, dust and loose debris need to be removed. Clean joints matter because new mortar bonds poorly to powdery surfaces. In many cases, the masonry should also be lightly dampened before new mortar is installed. That keeps dry brick or block from pulling too much moisture out of the mix too quickly.
The new mortar is then packed firmly into the joint in layers if needed, especially on deeper repairs. This step takes patience. Good compaction helps eliminate voids and improves bond strength. After that, the joint is tooled to match the surrounding profile. Tooling is not just about appearance. It also helps compress the mortar surface and improves water resistance.
Curing matters too. Mortar that dries too fast can shrink, crack, or lose strength. On hot or windy days, repair areas may need protection and controlled moisture so the material cures correctly.
Matching mortar matters more than most people think
One of the biggest reasons mortar repairs fail or look patched is poor matching. Color is the obvious issue, but strength, sand texture, and joint profile matter just as much. A close match helps preserve the appearance of the wall, but it also helps the repaired area move and weather consistently with the original construction.
For newer homes, the match is often straightforward. For older masonry, it can be more complicated. Historic brick in particular tends to be softer than modern brick, which means using a mortar that is too strong can damage the masonry over time. This is where trade experience makes a difference. Knowing how to restore damaged mortar is not just a matter of filling gaps. It means understanding what the wall needs to stay stable and age properly.
DIY mortar repair versus hiring a mason
There are small repairs some homeowners can manage, especially on low, non-structural garden walls or isolated joints in accessible areas. But there is a difference between a basic touch-up and a lasting repair on a chimney, foundation, entry steps, or exterior wall. Those areas affect safety, water protection, and long-term property value.
DIY mortar work often runs into three problems. The wrong mortar gets used, the old joint is not removed deeply enough, or the finish does not match the surrounding work. Sometimes the repair looks acceptable from a distance but fails after one winter. When that happens, you are paying for the repair twice.
A professional mason can also spot what is behind the failed mortar. That might include water entry, movement, failed flashing, damaged brick, or settlement. Fixing the joint without addressing the cause usually leads to repeat failure.
Where mortar damage shows up most often
Chimneys are one of the most common places for mortar deterioration because they are exposed above the roofline and absorb constant weather. Once joints open up, water can work into the system and accelerate damage. Repointing a chimney early is usually far less costly than rebuilding one later.
Brick steps and porch walls also take a lot of abuse from moisture and freeze-thaw movement. If the mortar is failing there, it can become a trip hazard or lead to loose masonry at the entrance of the home.
Foundation walls and block walls deserve careful attention as well. Mortar failure at these locations can allow water intrusion and contribute to larger wall issues. Not every case requires major structural work, but these are not areas where guesswork makes sense.
When repair is enough and when replacement makes more sense
There are times when repointing is the right investment, and there are times when replacement is smarter. If most of the wall or chimney is solid and the damage is limited to the joints, restoring the mortar is usually a cost-effective solution. It improves appearance, strengthens the assembly, and helps extend the life of the masonry.
If large sections are loose, bulging, heavily cracked, or broken down from years of water exposure, partial rebuilding may be the better path. It costs more upfront, but it avoids the cycle of patching material that is already beyond repair. Honest masonry work means saying that clearly when the condition calls for it.
Why timing affects the repair
Mortar repair is best handled before heavy deterioration sets in. Small open joints are far easier to restore than masonry that has been taking on water for several seasons. Delaying the work often leads to damaged brick faces, interior moisture issues, or more extensive rebuilding.
Weather also plays a role. Mortar should not be installed in freezing conditions or under extreme heat without the right precautions. Moderate temperatures usually give the best curing conditions and the most consistent result.
For homeowners who want the repair to look clean and last, this is one of those jobs where workmanship shows. Careful removal, proper mortar selection, tight packing, and a clean finish all matter. That is the difference between a wall that simply looks patched and one that is truly restored.
If you are seeing mortar cracks, missing joints, or signs of water getting into your brick or block, it is worth addressing it now while the repair is still straightforward. Solid masonry should look good, shed water, and stay secure year after year, and the right repair work helps keep it that way.