Driveway Replacement Project Timeline Example
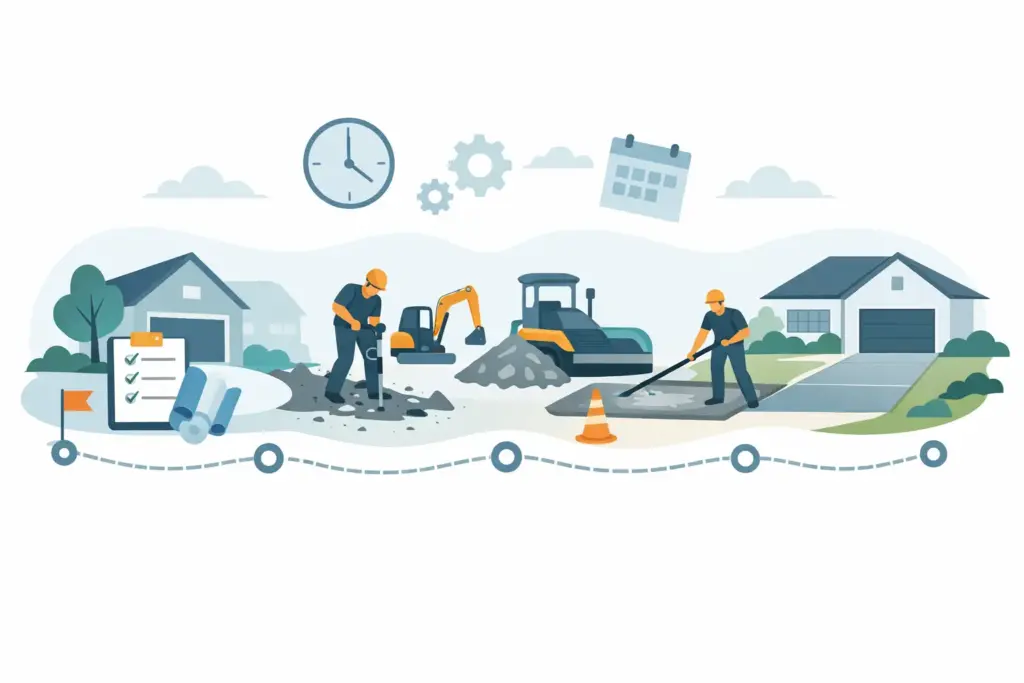
If your driveway is cracked, sinking, or breaking apart at the edges, the first question usually is not about concrete thickness or finish options. It is how long the job is going to disrupt your week. A clear driveway replacement project timeline example helps homeowners plan around parking, access, weather, and the simple fact that good concrete work cannot be rushed.
For most homes, driveway replacement is not a one-day event, even if the pour itself happens quickly. There is planning before the crew arrives, site work that has to be done properly, and curing time after installation that matters just as much as the visible construction. When the schedule is realistic from the start, the job runs smoother and the finished driveway performs better over time.
A realistic driveway replacement project timeline example
A standard residential driveway replacement usually takes one to three weeks from signed proposal to usable driveway, depending on scope, weather, site conditions, and finish details. The active on-site work may only take two to five days, but the full project window includes approvals, preparation, placement, and cure time.
Here is what that looks like in practical terms.
Days 1-3: Site visit, measurement, and estimate
The project starts with an in-person assessment. This is where the contractor checks the existing driveway condition, slope, drainage patterns, access for equipment, base failure, and any nearby structures like porches, garage slabs, steps, or sidewalks that may affect the replacement.
If the old driveway has major settlement, poor runoff, or signs that the sub-base has failed, those issues need to be accounted for before any new concrete is placed. This part matters because a new driveway is only as strong as what sits underneath it. A quick price without a real site review can lead to change orders, delays, or worse, a driveway that starts failing early.
Days 3-7: Scheduling and material planning
Once the proposal is approved, the job is scheduled. On straightforward projects, this can happen fast. During busy seasons, there may be a longer lead time depending on crew availability and weather.
This stage also covers mix design, reinforcement planning, form layout, and any decorative decisions if the homeowner wants stamped concrete, border work, exposed aggregate, or a specific broom finish. Simpler driveways move faster. Custom finishes usually add coordination and sometimes a little more curing care after the pour.
Day 1 on site: Demolition and removal
The first active construction day is usually demolition. The crew breaks up the old driveway, removes debris, and clears the area down to the required depth.
For a small single-car driveway, removal may be completed in one day. For larger driveways, tight-access properties, or jobs with thick existing concrete, heavy reinforcement, or tie-ins to sidewalks and aprons, demolition can take longer. If hidden issues show up during removal, such as unstable soil or soft spots in the base, that can extend the timeline, but it is better to correct them now than pave over a problem.
What can change the driveway replacement timeline?
The biggest factor is weather. Concrete work depends on temperature, moisture, and timing. Rain can delay excavation, soften the base, interrupt forming, or postpone the pour. Extreme heat can affect finishing. Colder conditions can require added protection and a more careful curing plan.
The second major factor is site condition. A flat, open driveway with clean access is very different from a narrow urban lot with drainage issues, retaining walls, or limited machine room. Decorative work, thicker sections for heavier vehicles, and permit requirements in some municipalities can also stretch the schedule.
Day 2 on site: Base preparation and forming
After demolition, the base is graded and compacted. This is one of the most important parts of the entire project. The driveway needs a stable, properly compacted foundation and the correct pitch so water moves away from the home and does not sit on the slab.
Forms are set to establish the final shape, thickness, and edges of the driveway. Reinforcement is installed if the project calls for it. Depending on the size and complexity, base prep and forming may be done in the same day as demolition or may need a separate day. That is normal.
Homeowners sometimes look at this stage and think the project is moving slowly because there is no finished surface yet. In reality, this is where the quality of the driveway is being built. Fast work at the expense of compaction and layout usually costs more later.
Day 3 on site: Concrete pour and finishing
Once the site is ready and weather allows, the concrete is poured, placed, and finished. For a basic driveway, this often happens in one day.
The finish depends on the project. A standard broom finish is common because it provides traction and a clean look. Decorative surfaces can take more time because timing is tighter and workmanship has to be precise. Control joints are cut or tooled to help manage cracking, and the surface is finished according to the planned appearance and use.
This is the part most homeowners think of as the whole project, but it is really only one phase. The driveway may look complete by the end of the day, but it is not ready for regular use yet.
Days 4-7: Initial cure and protection
After the pour, the concrete needs time to gain strength. Foot traffic is often allowed sooner than vehicle traffic, but that depends on conditions and the contractor's guidance.
A typical timeline is light foot traffic after 24 to 48 hours and vehicle traffic after about 7 days, though some jobs benefit from longer protection. Full cure takes longer than that. Concrete continues to gain strength over time, which is why early care matters. Parking too soon, turning wheels sharply on fresh concrete, or dragging heavy items across the slab can mark or weaken the surface.
If temperatures swing or rain is expected, the curing plan becomes even more important. This is one reason experienced concrete contractors do not promise unrealistic turnaround times just to win the job.
Sample 7-10 day schedule for a standard driveway
For a typical residential driveway with no major drainage corrections, a practical driveway replacement project timeline example might look like this.
Day 1 is the site visit and final scope review. Days 2 to 4 cover estimate approval, scheduling, and material coordination. Day 5 is demolition and removal. Day 6 is base prep, grading, and forming. Day 7 is the concrete pour and finish. Days 8 and 9 are early cure and protection. By around Day 14, the driveway is often ready for regular vehicle use if conditions have been favorable.
That is not a promise for every property. It is a useful planning model. If the driveway is larger, includes decorative work, requires permit coordination, or reveals poor subgrade after removal, the schedule can shift.
Why good contractors avoid overpromising
Homeowners understandably want a fast job. No one enjoys parking on the street or walking around a blocked front entrance. But speed only helps if the work holds up.
A dependable contractor will explain where the schedule is firm and where it depends on weather or site conditions. That honesty protects the homeowner. It also usually leads to better results because the crew is not cutting corners on excavation depth, compaction, reinforcement, or curing just to say the job was finished early.
This is especially true for driveways that connect to garages, sidewalks, porches, or steps. Those transitions need to be clean, level, and well planned. Rushing that work can create drainage problems, uneven joints, and an unfinished look that hurts curb appeal instead of improving it.
How homeowners can help the project stay on schedule
Good preparation on the homeowner side makes a difference. Before work starts, clear vehicles from the driveway, remove obstacles near the work area, and confirm how access to the house will be handled during the project. If irrigation lines, low landscaping lights, or special site concerns exist, point them out before demolition begins.
It also helps to make finish selections early. Waiting until the crew is ready to form the driveway to decide on decorative borders or surface texture can slow things down. Clear decisions keep the schedule cleaner and reduce the risk of rushed changes.
For homeowners in active family households, it is smart to plan for at least a week without driveway access, even on a straightforward project. If the job finishes sooner, great. If weather causes a pause, you are still prepared.
The timeline matters because the result matters
A new driveway is not just a surface upgrade. It supports vehicle loads, directs water away from the property, improves safety, and changes how the front of the home looks. That is why a serious contractor treats the timeline as part of the craftsmanship, not just a sales detail.
At Sampson Concrete & Masonry, that means setting realistic expectations, doing the base work right, and giving the finished slab the time it needs to perform. If you are comparing estimates, do not just ask how soon the crew can start. Ask how the job will be staged, what could affect the timeline, and when the driveway will actually be ready for use.
A well-built driveway should give you years of service, so it is worth giving the project the time it needs on the front end.